

This article will give you a step by step process to setup a custom domain on your Azure app service by configuring the DNS settings of you domain.
Important Note: Before we start, it is important to know that custom domains is only available for “Shared Plan” and above, it is not available for “Free Plan”. So if you have not yet upgraded then you need to upgrade first.
Step 1: Buy a domain
You could buy a domain on any of the domain registrar such as Godaddy, Google Domains, NameCheap etc.
Step 2: Copy details of your app service
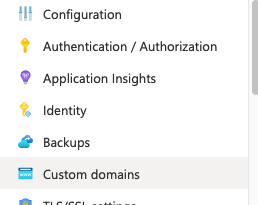
You need to login to Azure portal, click on the app service for which you want to setup domain. Click on “Custom domains”.
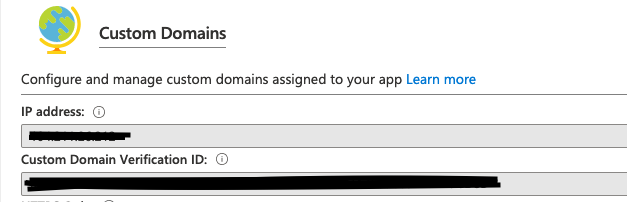
Note down the “IP Address” and “Custom Domain Verification ID”
Step 3: DNS Settings
Proceed to your domain registrar and navigate to DNS settings section. Here you need to add TXT Record, A record and CNAME record as below (the screenshot below is from Google Domains)
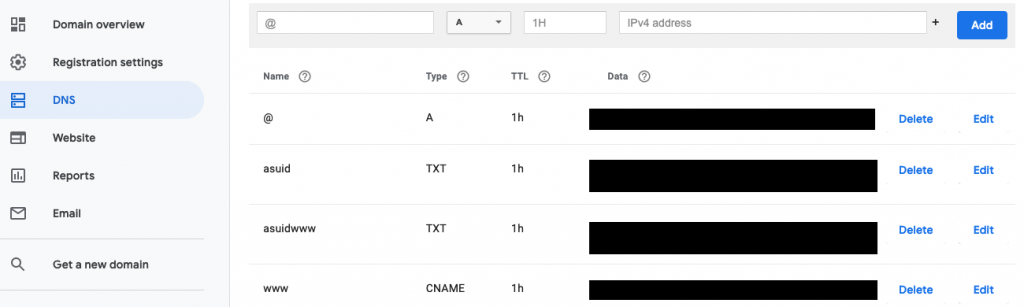
- Add an A record with name as “@”. In type field put “A”, put IP address that we copied from Azure, in the value/data column.
- Insert a CNAME record with name as “www”, type as “CNAME”. Put your Azure website address in the value/data column example: “xyz.azurewebsites.net”.
- Add a TXT record with name as “asuid”, type as “TXT”, put “Custom Domain Verification ID” (that we copied earlier from Azure) in the value/data column
- Add another TXT record with name as “asuidwww”, type as “TXT”, put “Custom Domain Verification ID” here as well
Step 4: Add domain in Azure portal
Your Azure app service needs to know your domain name, for this, click on “Custom Domains” as before, select “Add Custom Domain” option. Then you need to do the below step two times, one with your naked domain and one with www.yourdomain.com.
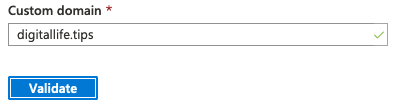
Put your domain name and click on validate, scroll down.
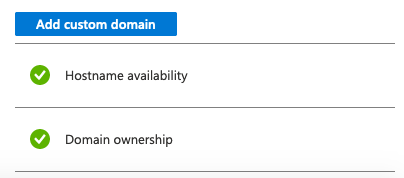
If everything goes right then you will see green flag as shown beside, you need to click on “Add custom domain”. Repeat this process for “www.yourdomain.com”.
That’s it. You have successfully set up a custom domain for your Azure app.
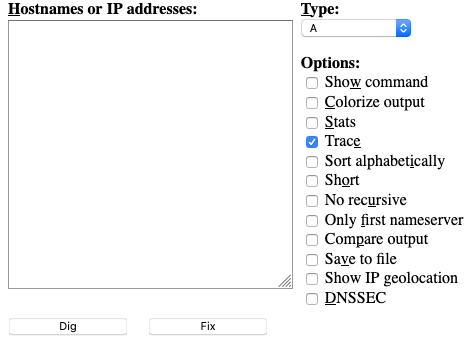
To verify that all the records are pointing correctly you can use digiwebinterface. Select the record type in the “Type” drop down, select “Trace” in the options and click on “Dig”.
Note: DNS setting takes time to propagate so you may need to wait for few minutes/hours for these settings to become fully functional.
Comments